
Anyone who has tried taking off gel polish at home knows the frustration. The shiny surface refuses to lift, the gel feels stuck to the nail, and all that rubbing leaves your fingertips aching in no time. At Pink of Manhattan on 49 W 38th St, we see this every week because clients often arrive with peeling, flaking gel that survived three attempts to remove it. The good news is that this does not need to happen.
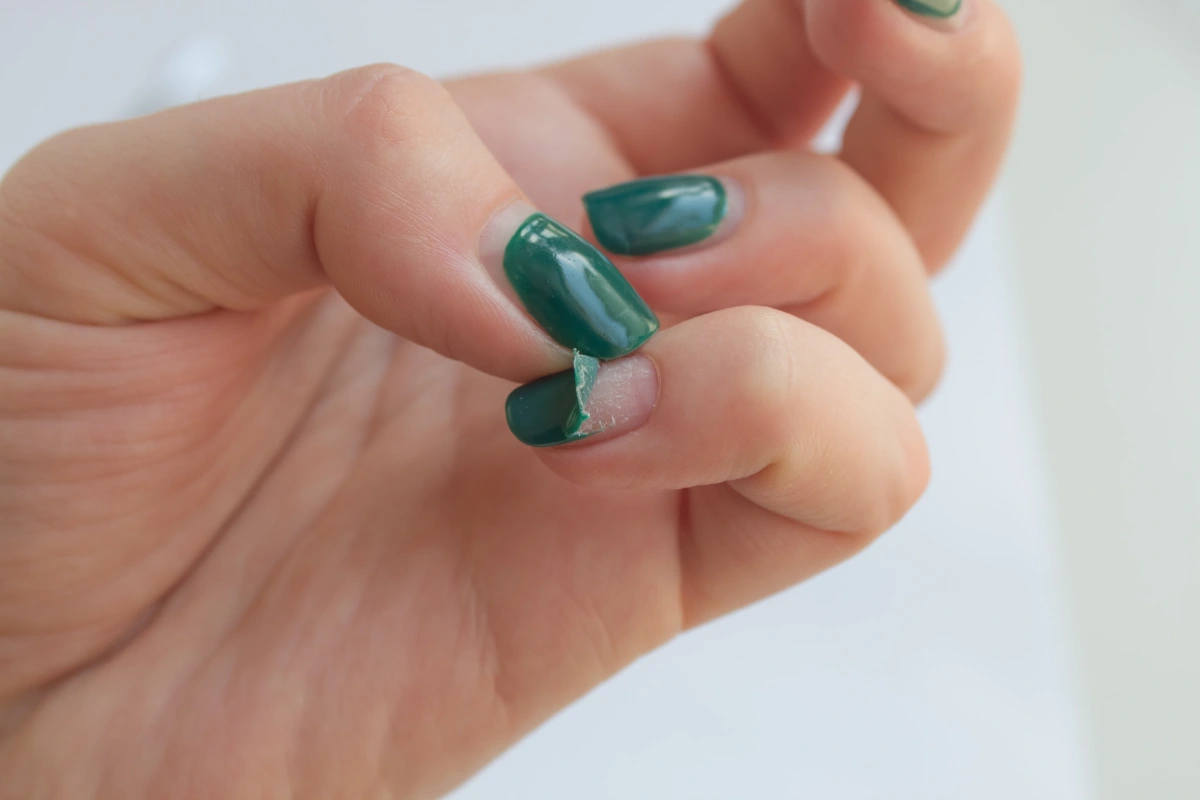
Gel polish is cured under LED lamps, so it hardens into a shell that wraps around the natural nail. This tough outer layer shields the polish from water, heat, pressure, and even those impatient urges to pick at the edge. That is why proper removal is essential. If the surface stays sealed, acetone cannot reach the layers below to soften the gel.
Before you reach for pure acetone or cotton balls, begin with a file. You do not need to sand the nail into dust. You only need to remove the shine. At Pink of Manhattan, our technicians lightly buff the surface until it looks slightly matte. That small step allows the remover to penetrate the gel more easily and helps the entire process go faster and feel smoother.
You may have acetone nail polish remover at home, but many store formulas are diluted. Pure acetone melts gel far better. Acetone works the same way for gel polish. You can use it safely as long as you sit in a well-ventilated area to avoid strong fumes.
If you have ever wondered how salons remove gel nail polish, here is the method most professionals rely on.
File the top layer until the shine disappears.
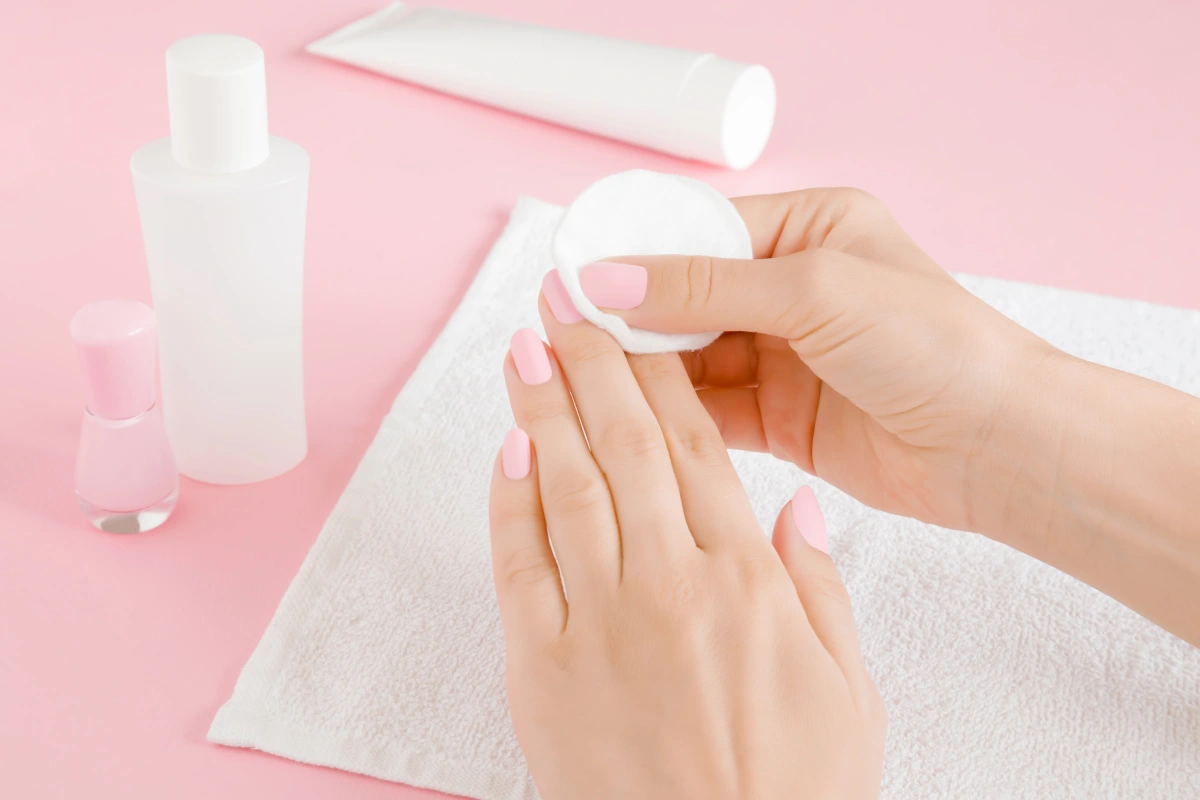
Tear cotton into small pads.
Soak one pad in acetone.
Place it on one nail.
Wrap the fingertip tightly with aluminum foil.
Repeat on one hand.
Let it sit for 10 to 15 minutes.
This wrap traps warmth, allowing the acetone to soften the gel layer by layer. It is far more effective than endlessly rubbing your fingernail.
When the time is up, unwrap one nail first. If the gel starts to lift and flake, it means the removal is working. If the surface still looks smooth, rewrap the finger and give it a few more minutes. Taking your time protects your natural nails, while rushing often leads to scraping and tearing that causes damage.
Once the gel polish softens, use a cuticle pusher to gently remove it. You should never stab, jab, or force. If it does not slide, the gel is not ready. Rewrap and soak again.
Scraping might seem like the quickest option, but it often leaves nails thin and tender. Gel polish is rigid, so forcing it off is like ripping dried glue from a sticker – it takes the layers beneath with it. If you start to feel pressure, stop right away. Giving the nails a few extra minutes to soak helps protect the nail surface.
After removal, you may notice small traces of product left behind. Use a soft buffer to gently smooth the surface and avoid aggressive filing. The goal is to remove leftover flakes, not the nail itself. Light buffing also helps your next manicure adhere more evenly.
Gel removal pulls moisture from the nail and cuticles. Cuticle oil restores hydration, so your nails do not crack or flake the next day. Massage a drop into each fingertip. At Pink of Manhattan, we treat this step like a reward for your patience.
Some gel nails do not cooperate. Maybe the top coat was thick, maybe the gel layer sealed unevenly, or maybe the polish was cured too long. In these cases, a salon visit prevents damage. Our team uses precision tools to keep your nails healthy throughout the entire removal process.
If you wear acrylic over gel polish, the process changes. Acrylic needs a longer soak and a more decisive seal break. Trying to remove acrylic with a gel method creates messy layers and leads to frustration. Always confirm what is on your nail before starting.
Gel polish is designed to stay on for weeks. It takes time to break that strength. If you are short on time, scheduling a professional removal is much safer than picking the polish off at your desk. Peeling pulls away layers of the natural nail and can cause long-term damage.
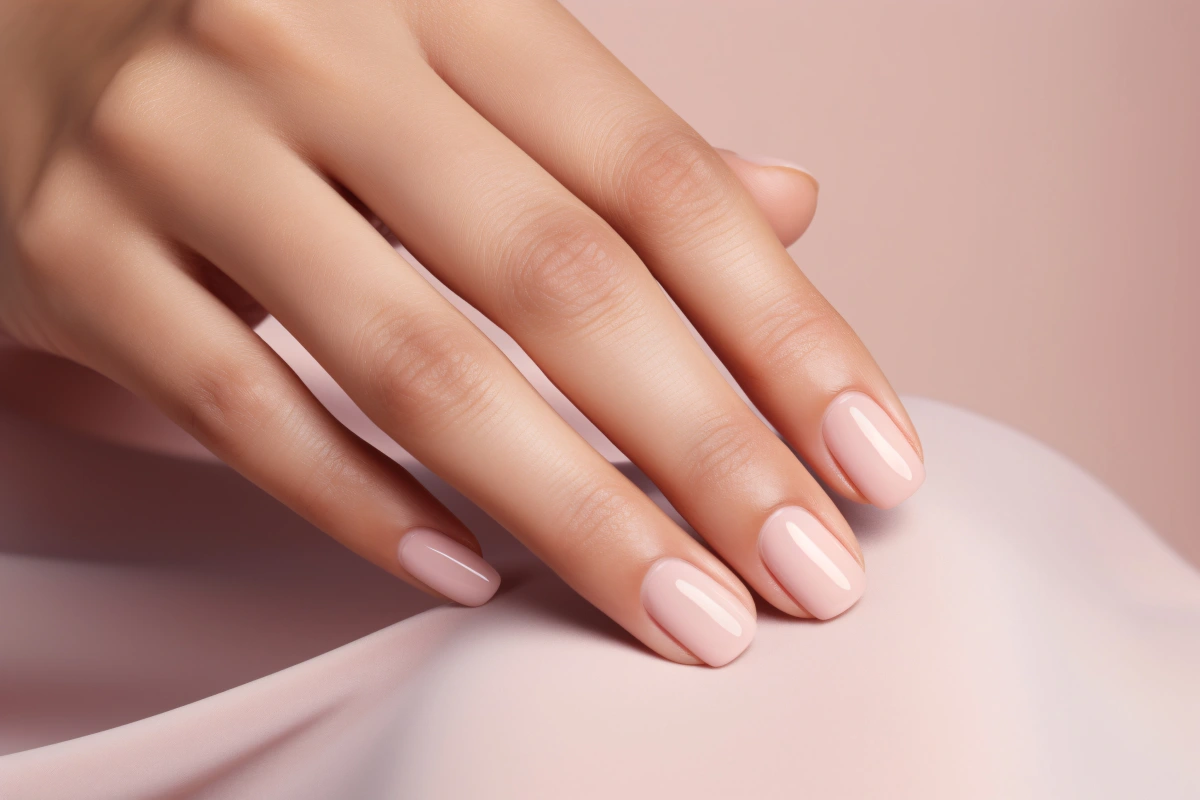
After removal, your nails benefit from a short break. Apply cuticle oil and hand cream to restore moisture. If your nails feel weak or thin, do not rush into another gel application. Give them a few days to recover. If you want color right away, apply a nourishing base coat to protect the nail bed from extra dryness.
Mistake one: skipping the file.
Mistake two: using foil loosely so the cotton pad dries out.
Mistake three: scraping while the gel is still hard.
Mistake four: soaking for too little time.
Mistake five: forgetting to moisturize after the removal.
Warm your hands slightly before wrapping to help the acetone work faster.
Use smaller cotton pads to avoid a mess.
Remove gel nails on one hand at a time so you can check progress easily.
Buff lightly to avoid weakening the nail beds.
Use cuticle oil daily during the week after removal.
Learning how to take off gel polish safely gives you control, but knowing when to call a professional keeps your nails healthy. At Pink of Manhattan, we remove gel with the same care we put into applying it. Your nails deserve nothing less.